
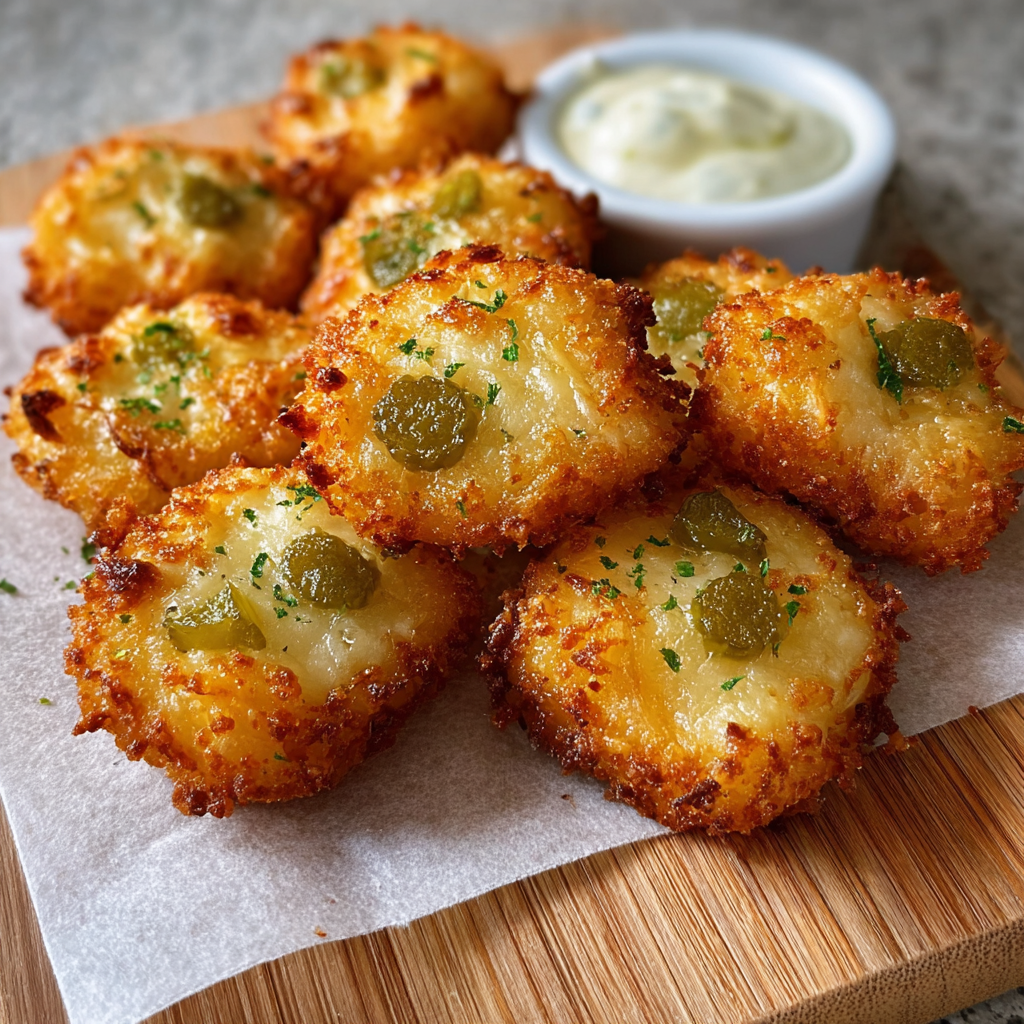
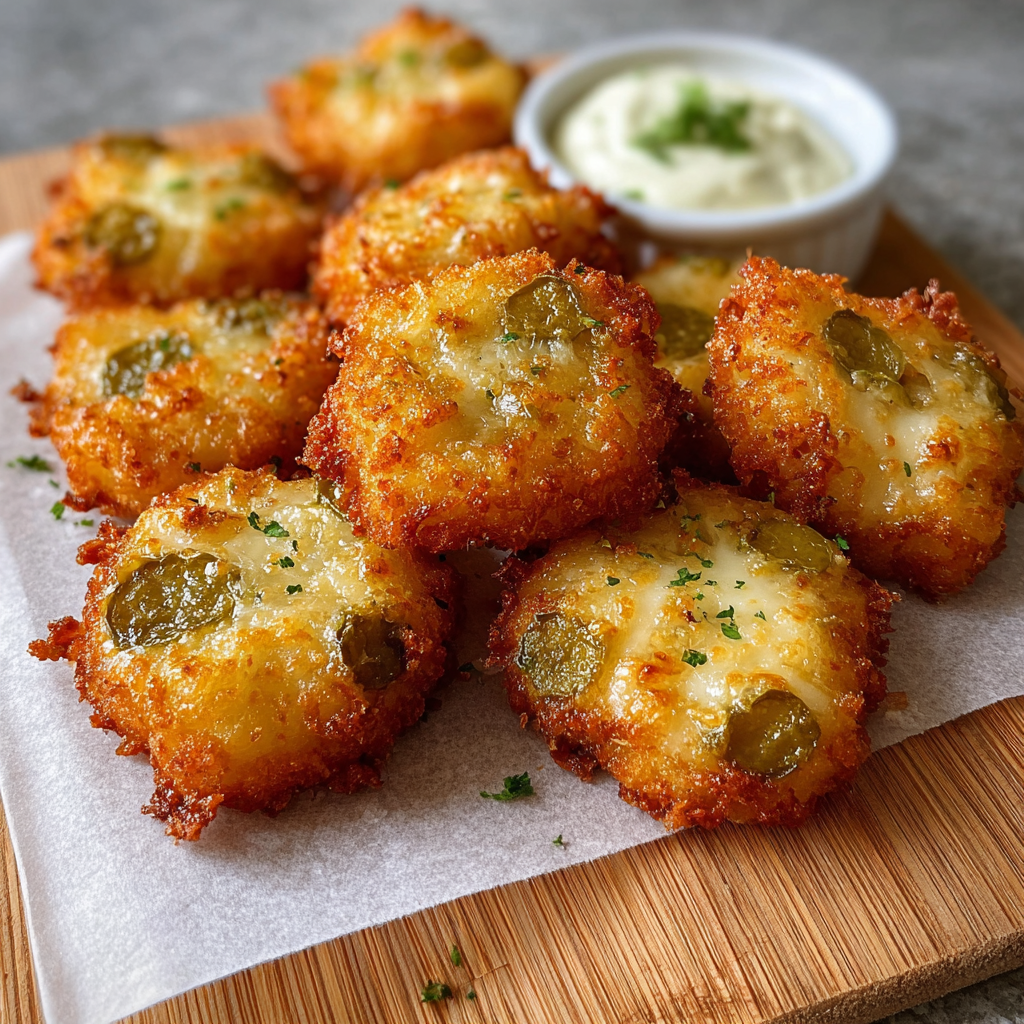
Crispy Pickle Cheese Bites

Tiny crunchy bites that pair tangy dill pickles with melty cheese for an irresistible snack everyone will reach for.
Why You'll Love This Recipe
- Ready quickly with about 10 minutes of active prep and 10 minutes of baking making this a perfect last minute snack for guests.
- Uses pantry and fridge staples like shredded cheese and jarred dill pickles which keeps the ingredient list short and shopping simple.
- Customizable texture with an optional tablespoon of breadcrumbs to add extra crisp for those who prefer a crunchier exterior.
- Works for small gatherings because you can double or triple the quantities and bake on multiple sheets for a crowd friendly tray.
- Maintains contrast of hot melted cheese and cool tangy pickle which keeps each bite interesting rather than one note.
- Easy to make gluten free by skipping the breadcrumbs or using gluten free breadcrumbs keeping it inclusive for more diets.
I remember bringing a tray to a weekend movie night and watching friends taste one and immediately ask where I had bought them. That moment made me realize how something so simple can feel gourmet when the details are right. The short baking time means the aroma fills the kitchen without a long wait which always draws people in.
Ingredients
- Shredded cheddar cheese 1/2 cup: Choose a sharp cheddar for punchy flavor. Look for a freshly shredded block or a quality bagged brand to avoid excess anti clumping agents. Cheddar provides bold savory depth and browning that helps the edges crisp.
- Shredded mozzarella cheese 1/2 cup: Use low moisture part skim or whole milk mozzarella for the best melt. Mozzarella balances cheddar by giving stretch and a creamy interior without overpowering the pickle flavor.
- Finely chopped dill pickles 1/4 cup: Choose crisp dill pickles rather than sweet pickles. Drain them well and chop small so pieces distribute evenly and release minimal extra liquid during baking.
- Garlic powder 1/2 teaspoon: Adds a rounded savory note. If you prefer fresh garlic use a small pinch of very finely grated garlic but be mindful of extra moisture.
- Breadcrumbs 1 tablespoon optional: Use plain or panko if you like additional crunch. For gluten free options substitute a gluten free breadcrumb or crushed rice cereal.
- Nonstick spray or parchment paper: Essential to prevent sticking as the cheese melts and crisps on the sheet.
Instructions
Preheat the oven and prepare your sheet: Set the oven to 375°F. Line a baking sheet with parchment paper or lightly coat with nonstick spray so that the melted cheese releases easily after baking. Preheating ensures a quick start to browning and crisping. Combine the ingredients: In a medium bowl stir together 1/2 cup shredded cheddar, 1/2 cup shredded mozzarella, 1/4 cup finely chopped dill pickles, 1/2 teaspoon garlic powder and 1 tablespoon breadcrumbs if using. Mix until the pickles are evenly distributed and the texture is cohesive. If the mixture feels too wet add a touch more cheese or a scant teaspoon of breadcrumbs. Portion the bites: Using a small cookie scoop or a teaspoon form small balls or mounds roughly one inch in diameter and place them spaced at least 1 inch apart on the prepared sheet. Press gently so each mound has a slightly flattened base which helps even browning and stable shape. Bake until golden and crisp: Place the sheet in the preheated oven and bake for about 10 minutes. Look for edges turning golden brown and bubbles forming on top which indicate the cheese has melted through and is starting to crisp. Ovens vary so check at nine minutes to avoid over browning. Cool briefly and serve: Remove from oven and allow the bites to cool on the sheet for 3 to 5 minutes so they firm up. Transfer to a serving plate and enjoy warm. Cooling also tightens the exterior making them easier to pick up without losing shape.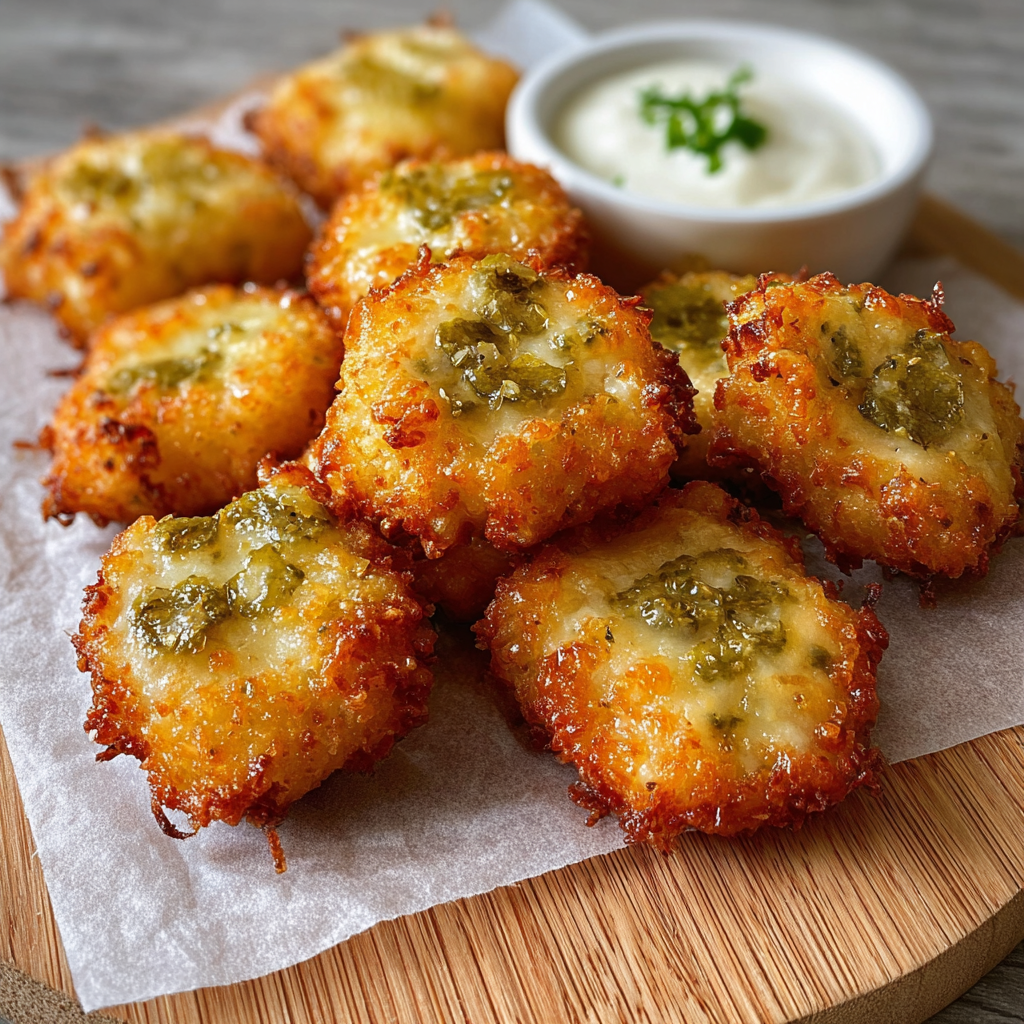
You Must Know
- These bites are high in calcium and protein because of the cheeses while remaining small in portion which makes them easy to enjoy as an occasional snack.
- They freeze well for up to three months if flash frozen on a tray then stored in an airtight container and reheated in a hot oven to regain crispness.
- For gluten free diets omit the breadcrumbs entirely or swap for gluten free crumbs keeping the rest of the technique identical.
- Proper draining and small dice of pickles minimizes extra moisture which keeps the exterior crisp and prevents sogginess.
- Using parchment or a silicone baking mat simplifies cleanup since the cheese can otherwise stick to metal sheets.
My favorite aspect of this idea is how many times a simple adjustment turned a plain leftover into a snack that feels celebratory. Sending a plate of these to a book club or on a movie night always gets a chorus of approval and requests for the recipe. The textural interplay of melty warm center and the tangy tiny pickle pieces is a repeatable crowd pleaser that never gets old.
Storage Tips
Store cooled bites in an airtight container in the refrigerator for up to four days. For best texture reheat in a preheated oven at 350°F for 5 to 8 minutes on a sheet until warmed through and the edges regain crispness. If you need to freeze place baked pieces in a single layer on a tray then transfer to a freezer bag once solid to prevent sticking. Reheat from frozen at 375°F for 8 to 12 minutes checking frequently so they do not overbrown.
Ingredient Substitutions
Swap cheddar for Monterey Jack for a milder bite or use pepper jack for heat. Replace mozzarella with fontina for a nuttier melt. If you avoid dairy try a sturdy plant based shredded cheese although results may vary with melting behavior. For a gluten free choice use almond flour or crushed gluten free crackers instead of breadcrumbs. If you prefer a less tangy profile use bread and butter pickles sparingly keeping in mind they will add sweetness.
Serving Suggestions
Serve warm on a platter with small bowls of dipping options such as sour cream with chives, a smoky barbecue sauce, or a mustard dip which complements the pickle flavor. Pair with raw vegetables for balance or add to a grazing board with cured meats, olives and crusty bread for variety. Garnish with a sprinkle of finely chopped fresh dill or chopped chives which echoes the pickle herb notes and adds visual contrast.
Cultural Background
Combining pickled elements with rich dairy is common in many traditions where acid balances fat. This small bite is rooted in the practical American tendency to repurpose common refrigerator ingredients into finger foods. Think of it as a cousin to baked cheese crisps and fried cheese snacks which appear across various regional tables in playful formats. The bright acidity of dill pickle is a modern pantry staple that marries well with cheese in casual entertaining.
Seasonal Adaptations
In spring add finely chopped fresh herbs such as dill and parsley for brightness. In summer use quick pickled cucumbers or cornichons for a crisper profile. For holiday gatherings incorporate a teaspoon of cranberry relish for a festive contrast. In colder months add a pinch of smoked paprika or a tiny amount of minced cooked bacon to the mixture for warmth and depth.
Meal Prep Tips
For make ahead entertaining prepare the mixture and portion the mounds onto a sheet, cover tightly and refrigerate for up to 24 hours then bake when needed. If you are batch baking for a crowd bake on multiple sheets rotating front to back halfway through to ensure even color. Label containers with the bake date if freezing and include reheating instructions for guests who may take some home.
These crispy pickle cheese bites are a simple way to turn everyday ingredients into a memorable snack. Whether you are feeding a crowd or craving a savory nibble this idea is quick, adaptable and delicious. Give them a try and make them your own with the small tweaks that suit your taste and pantry.
Pro Tips
Drain and blot pickles on paper towels before chopping to remove excess liquid and prevent soggy bites.
Use a small cookie scoop for uniform sizing which ensures even baking and consistent crispness.
Bake on parchment or a silicone mat to prevent sticking and to make cleanup easy.
Check at nine minutes since oven temperatures vary and a minute can make the difference between golden and overbrowned.
This nourishing crispy pickle cheese bites recipe is sure to be a staple in your kitchen. Enjoy every moist, high protein slice — it is perfect for breakfast or as a wholesome snack any time.
FAQs about Recipes
Can I make these gluten free
Yes you can omit breadcrumbs or use gluten free breadcrumbs to make them gluten free. The texture will be slightly different but still enjoyable.
How do I stop them from falling apart
Allow them to rest 3 to 5 minutes so they firm up and are easier to move. Serve warm rather than hot for best texture.
How long do leftovers keep
Store in an airtight container in the refrigerator for up to four days or freeze for up to three months and reheat in a hot oven to restore crispness.
Tags
Crispy Pickle Cheese Bites
This Crispy Pickle Cheese Bites recipe makes perfectly juicy, tender, and flavorful steak every time! Serve with potatoes and a side salad for an unforgettable dinner in under 30 minutes.
Ingredients
Main
Instructions
Preheat and prepare baking surface
Set oven to 375°F and line a baking sheet with parchment paper or lightly coat with nonstick spray so the melted cheese will not stick.
Mix ingredients
Combine shredded cheddar, shredded mozzarella, finely chopped drained dill pickles, garlic powder and optional breadcrumbs in a bowl until evenly distributed.
Portion the bites
Form one inch mounds using a small scoop or teaspoon and place them on the prepared sheet spaced about one inch apart to allow for even browning.
Bake until golden
Bake at 375°F for approximately 10 minutes and watch for bubbling and golden edges which indicate the cheese is crisping.
Cool and serve
Allow baked bites to cool on the sheet for 3 to 5 minutes so they firm up then transfer to a plate and serve warm with dips if desired.
Store or freeze
Store cooled bites in an airtight container in the refrigerator for up to four days or freeze on a tray then transfer to a bag for up to three months. Reheat in a hot oven to restore crispness.
Last Step: Please leave a rating and comment letting us know how you liked this recipe! This helps our business to thrive and continue providing free, high-quality recipes for you.
Nutrition
Did You Make This?
Leave a comment & rating below or tag
@magicmealideas on social media!
Categories:
You might also like...
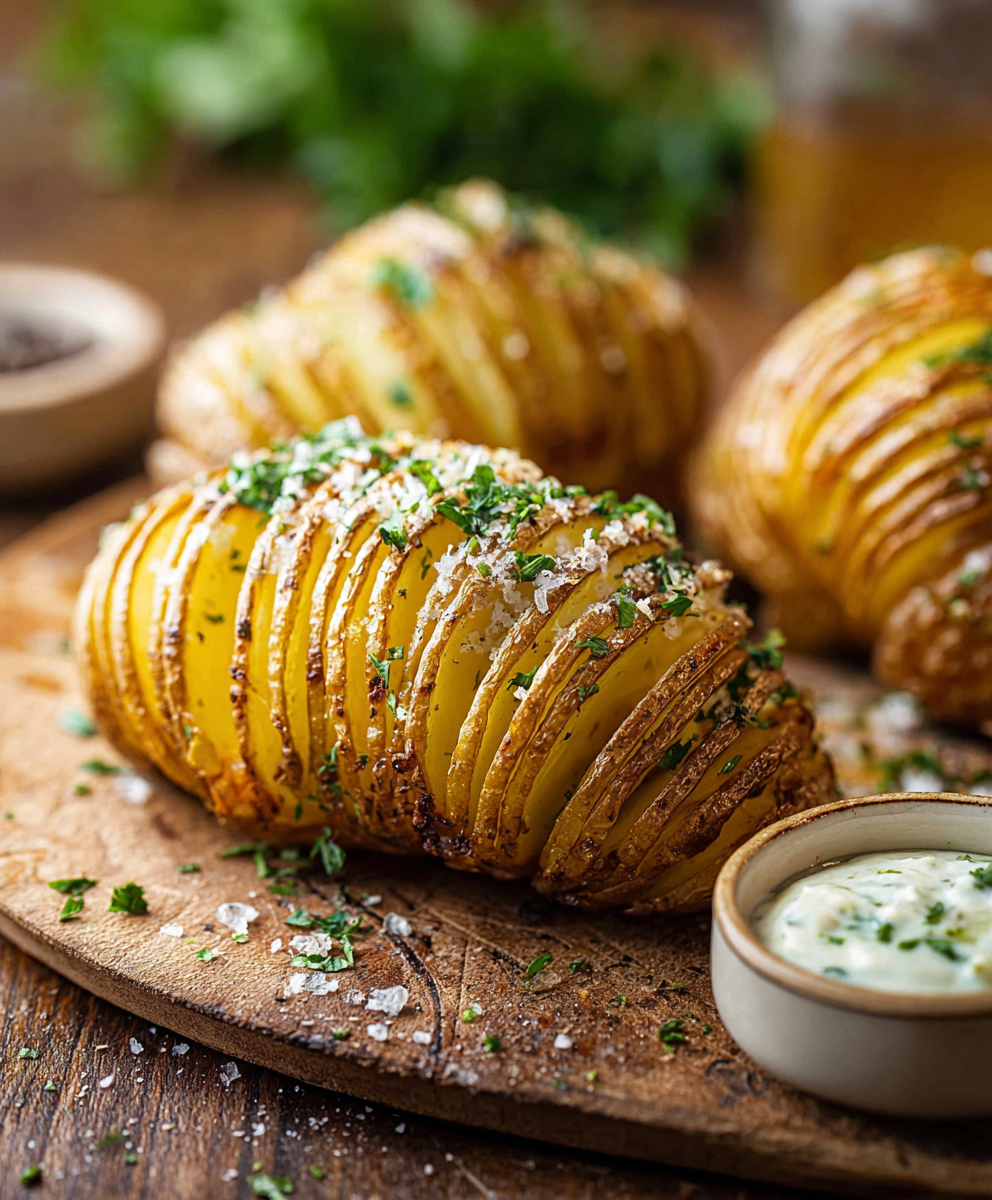
Classic Hasselback Potatoes
Thinly sliced, butter-brushed russet potatoes baked until the edges crisp and the insides stay tender — a simple side that feels special.
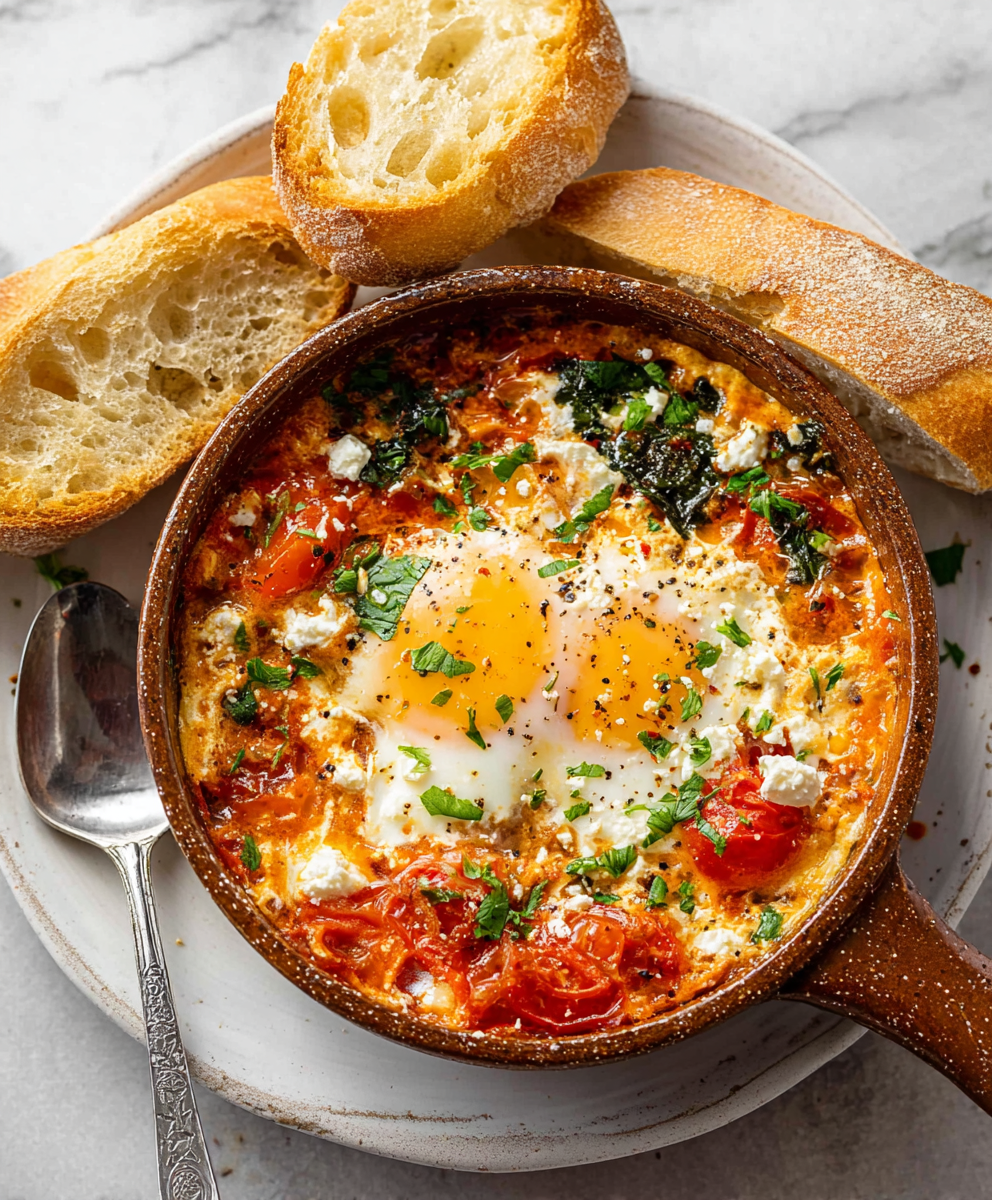
Baked Feta Eggs
A bright Mediterranean-inspired skillet of blistered tomatoes, roasted feta, tender spinach and baked eggs — perfect for breakfast, brunch or a light dinner.

Key Lime Pie Yogurt Bark
A bright, creamy frozen treat that tastes like key lime pie — made with Greek yogurt, zesty lime, crunchy gluten-free graham crumbs and toasted coconut for a refreshing, protein-packed snack.
Did You Make This?
Leave a comment & rating below or tag @magicmealideas on social media!
Rate This Recipe
Share This Recipe
Enjoyed this recipe? Share it with friends and family, and don't forget to leave a review!
Comments (1)
This recipe looks amazing! Can't wait to try it.
Comments are stored locally in your browser. Server comments are displayed alongside your local comments.

Hi, I'm Chef!
What's Popular

30-Minute Meals!
Join to receive our email series which contains a round-up of some of our quick and easy family favorite recipes.